
Hello folks! I’ve been out of commision for ages, but am back again, thank goodness, and with a little more time to do fun stuff like experiment with some interesting recipes and turn them gluten free and let you know how it went.
Ellie and I worked on a Tiramisu recipe today, just for your delectation! Oh, and because who doesn’t love Tiramisu?? So go get the recipes, and follow along! Here is the Serious Eats Lady Finger Recipe and here is the Serious Eats Rich & Creamy Tiramisu Recipe.
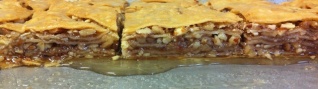
In case you are impatient and don’t want to wait til the end for our verdict, here it is: MAKE THE MASCARPONE CREAM AND PUT IT ON EVERYTHING. Beyond that, it was delicious, but had one structural problem because of the GF conversion: We really needed to add some xanthan gum to the lady fingers, they spread way too much and I decided to just use the recipe as written, though fully aware that that would probably happen. That said, they tasted fantastic and had all the lady finger attributes you want: delicately crisp and crackly surface, light airy texture, gently spongy interior; they just didn’t hold up like they should. I’ll give a couple of alternate recipes at the end, and I have to say, if you’re doing this in a large pan (we used a 9×13), why not just bake the sponge cake in a sheet pan? It would get rid of the spreading problem and you can brush the delicious coffee syrup over it instead of dipping individual fingers.
So … on to the recipe:
First, this sponge cake calls for cooking the egg/sugar/salt mixture over a double boiler to 160F (160 degrees Fahrenheit). Not a problem, though I’ll have to do a comparison with my sponge cake recipe to see if I think it’s worth the trouble. They say it helps give the egg more volume and dissolve the sugar, but I’m not sure that it’s necessarily any better than the recipe I’ve always used (you can find it at the end of the post).
Aside from heating the eggs, it’s a pretty standard sponge cake recipe. The fun part is piping the lady fingers out. It’s the generous dusting of powdered sugar that gives them their delicate shell that is so characteristic and lovely. As you can see, we had some issues with spread because I chose not to add xanthan gum to the recipe. I will add 1 teaspoon of xanthan gum next time I try this.


Another thing to note: I gave myself a piping guide on the parchment. Using a pencil and ruler I marked out two 3″ wide spans the length of the parchment, then put the parchment in the tray with the pencil on the underside, as it will show through enough to see. That’s an important detail – don’t leave the pencil (or sharpie) markings on the side that will be in contact with the food!!! Here you also see Ellie – we were taste testing after the lady fingers had cooled!
On to the Tiramisu! First let me say that, though the coffee syrup didn’t seem that spectacular when we first mixed it up, it did benefit from sitting while everything else was made, and it was absolutely STUPENDOUS when applied to the lady fingers. I admit, I may have eaten a couple of fingers just dipped in the coffee.


When we first mixed up the syrup, we didn’t feel that we could detect the Aperol, and that mostly it just tasted of coffee and chocolate with a faint hint of alcohol. I don’t know if it was the sitting, or the dipping biscuits in it, but when we came to that stage it was rather brilliant tasting, with the bitterness of the syrup perfectly offsetting the sweetness and faint lemonyness of the Lady Fingers.
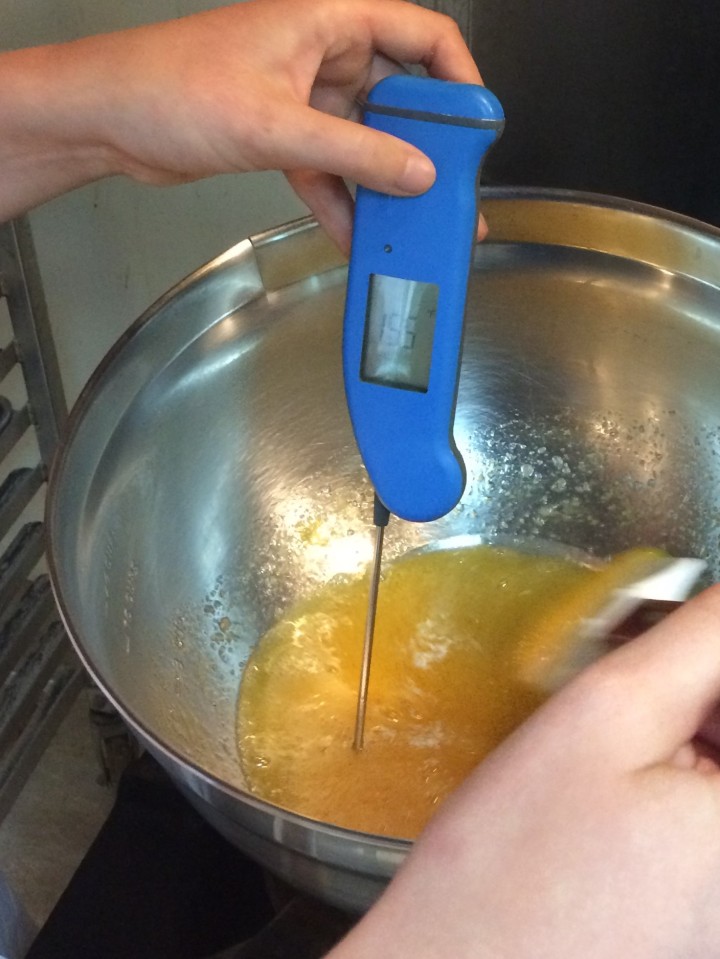
But I’m getting ahead of myself – next comes the Mascarpone Cream, and what a work of art it is! We make a different mascarpone cream here at Triple Oak Bakery for filling Roulades and various other cakes, and it is delicious, so I wondered if all this heating of eggs would be worth the effort. It is. It gives the cream an amazing richness, complexity and silky texture that is out of this world! I will append my Mascarpone Cream recipe at the end of the post, but I highly recommend taking the trouble to use this one! As you can see, beyond the slight hassle of heating the eggs, sugar and salt (exactly as in the spongecake recipe), it’s very easy:


It is quite important though, in both recipes, to whip the eggs to the point that they look very pale and thick and almost like icing. In the photo on the left you can see how yellow the eggs are in the beginning and then in the center photo, how thick and pale they become. Don’t be shy – whole eggs, especially when mixed with sugar, can take quite a beating and not become temperamental (unlike egg whites).
The assembly is quite easy – just dip the lady fingers in the coffee syrup and layer them in the pan. HOWEVER, be aware that gluten free baked goods won’t stand a lot of soaking before they dissolve!!!! Just dip them in on both sides and take them out, you’ll get plenty of flavor. Put down a layer of Lady Fingers, spread on about half the mascarpone cream and then dust it with cocoa powder.


This recipe calls for a 7″x10″ pan, a mythical creature that I don’t own, have never used nor actually run across in the wild, (now I’ll hear from tons of people who constantly use their 7×10 pans!!). After some debate between our choices – 8″x8″ or 9″x13″ – we decided to go with the 9×13, though it made a slightly thinner product, perhaps more in keeping anyway with our rather thin Lady Fingers. In the eating, I have to say if it were thicker I would probably only have been able to eat a square inch piece, it’s REALLY rich!
Now dip and layer on a second series of Lady Fingers and coat them with cocoa powder and the remaining mascarpone.


The recipe says to make textures on the top layer of mascarpone using string. While I’m sure this is cool, we decided it sounded like a big mess (though that rarely stops us!) and I just did a repeating wave pattern in the mascarpone using a small offset spatula, then the whole thing gets another layer of cocoa powder and you’re done!
It was supposed to chill for at least an hour …
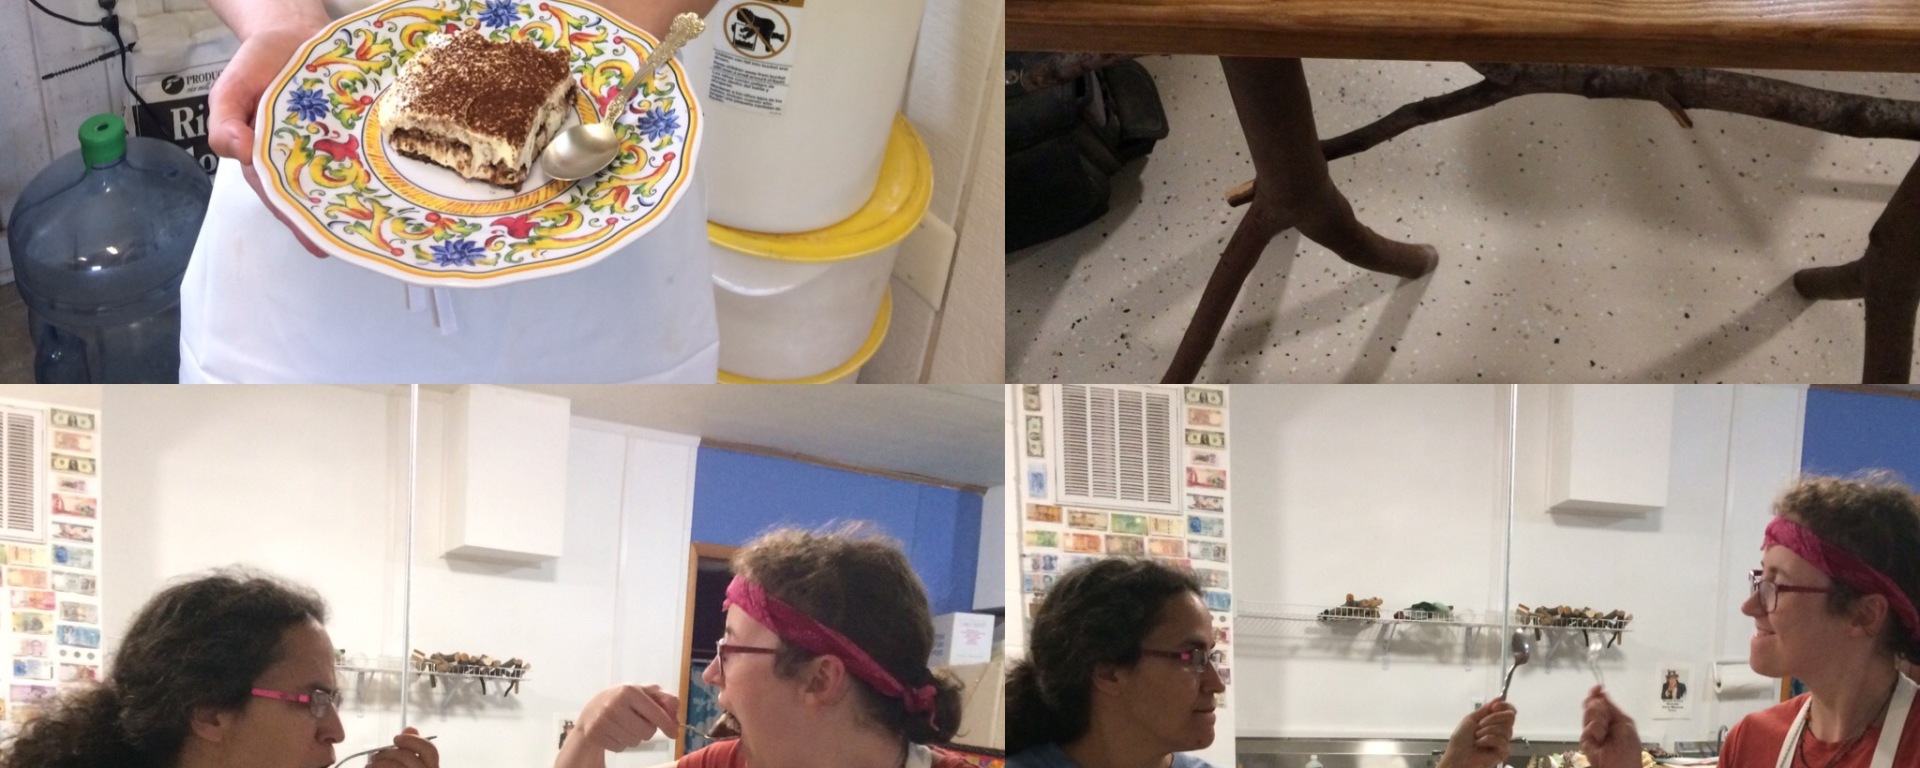
I think we let it sit for at least 20 minutes! Then we carried our pieces next door to share with Mary in the Shire Home Furnishings wood shop – those are her beautiful tables you see in the photos


As promised, here are my Sponge Cake and Mascarpone Cream recipes. When I get better at this I’ll figure out how to put them in as printable documents, sorry! Also, these are written more or less in the form we use here in the bakery, that is, without a lot of explanation. Please feel free to contact me for assistance: tripleoakbakery (at) gmail (dot) com ~ Cheers! Brooke
Triple Oak Bakery Sponge Cake
makes either: one 10″ angel food pan, two 9″ cakes, one 12″x17″ (half sheet pan) or probably about 60+ 3″x1″ lady fingers (it should freeze beautifully, why not make a ton of lady fingers??)
Preheat oven to 325F
Sift together:
2 c gluten free flour
1 1/2 t baking powder
1/2 t salt
1/2 t xanthan gum (if your gf flour already contains xanthan gum, omit or adjust this amount)
Separate:
14 eggs
Beat whites to soft peak in large bowl with:
2 t cream of tartar
Beat the following on high for 3-5 minutes until they are pale and thick and fall from the beater in a ribbon:
egg yolks
1 1/2 c sugar (or less)
1 T lemon zest
Gently fold yolks into whites and then fold in flour mixture
(for lady fingers, follow directions in the Serious Eats recips referenced at the top of this post)
Bake 10-12 minutes for Lady Fingers, 20-30 minutes for 9″ layers or half sheet pan, or 50-60 minutes for angel food pan. Bake until it is lightly browned, starting to pull away from the sides and bounces back slighly when gently pressed. For Lady Fingers, til tops are starting to turn golden.
Triple Oak Bakery Mascarpone Cream
Bring 1 1/2 pounds of Mascarpone to room temperature (three 8ox packages)
Whisk the mascarpone (be kind to yourself, use an electric beater!) with 3 cups of heavy whipping cream and 1/2 c sugar as follows:
beat the mascarpone and sugar in a large bowl til it is a little soft and the sugar is incorporated then gradually add about a third of the cream to loosen it up, but just beat til the cream is incorporated.
Add the remaining cream and beat as for whipped cream but DO NOT OVER BEAT. Just until it is thickened and will hold its shape when the beaters are lifted out.
